COLOMBIA 2015


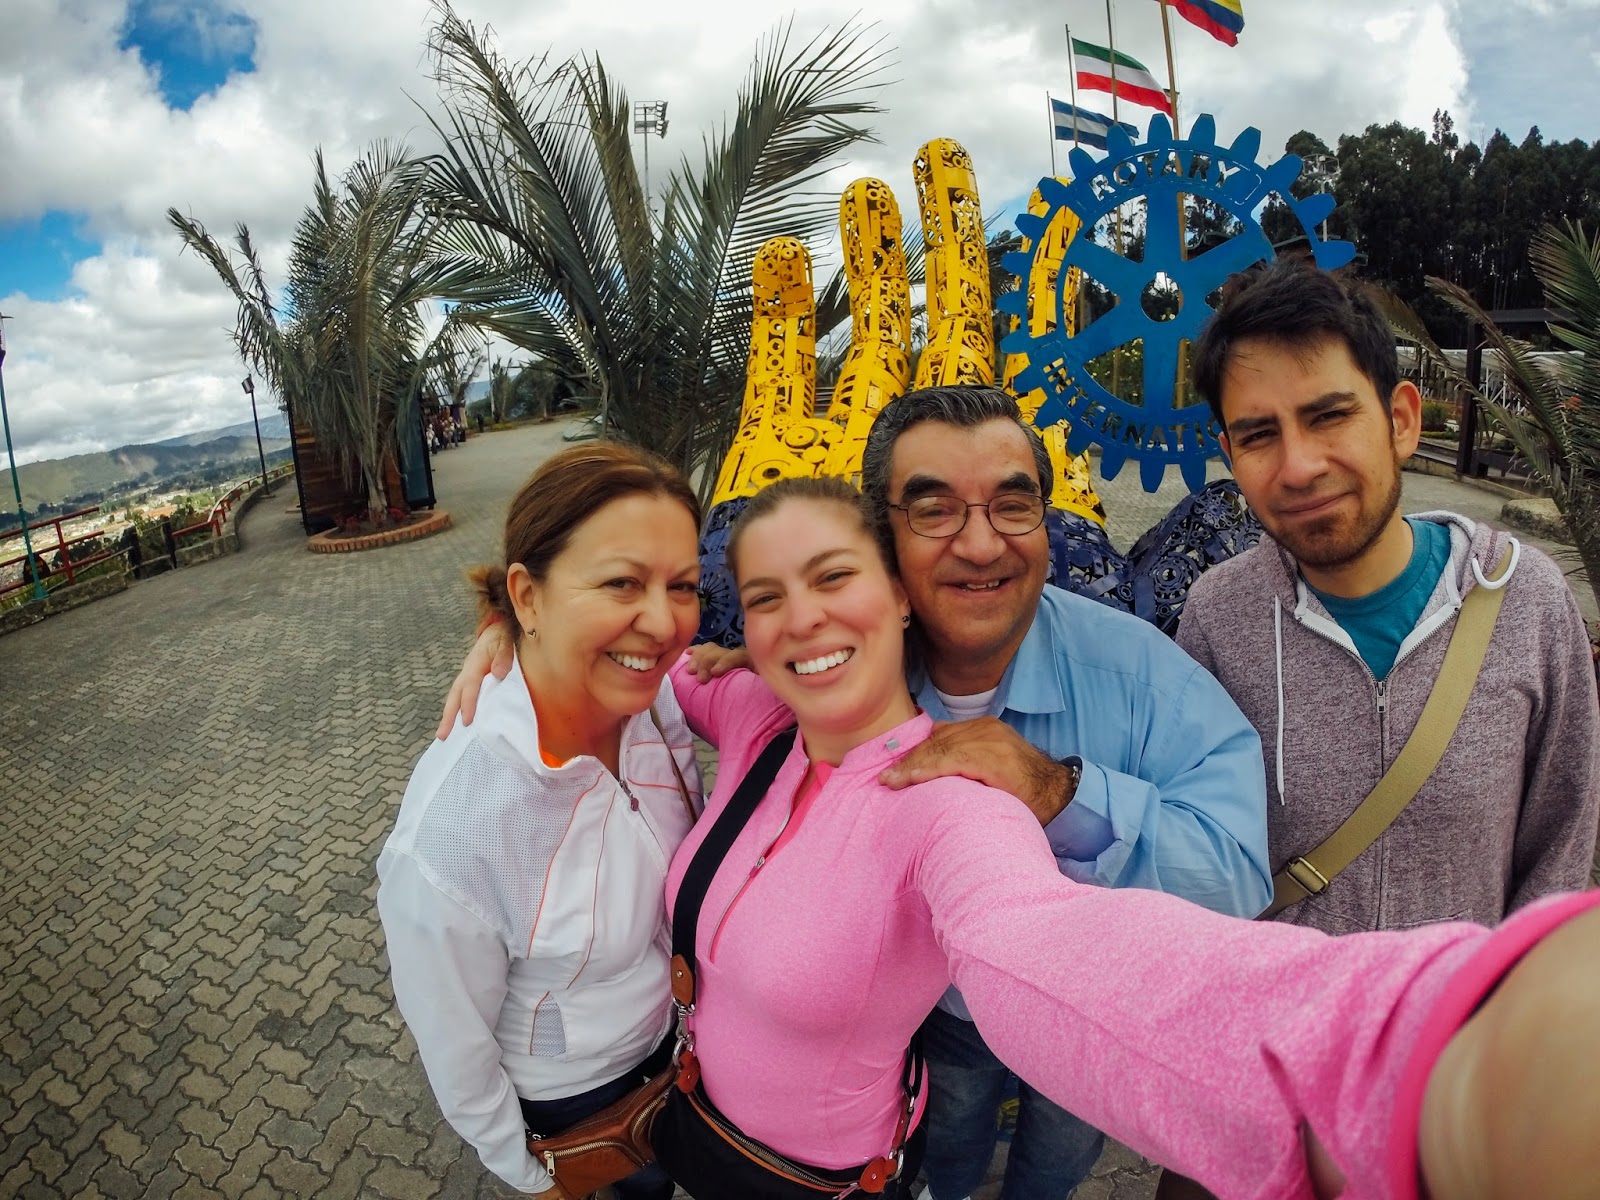
I'm not sure there are enough words I could put together that would allow me to express how happy I am about our recent trip to Colombia. Not only have I been wanting to visit this country for many years, I've also wanted to have the opportunity to travel there with my mom and grandparents. They are the only people I could ever envision being my personal tour guides! I feel so incredibly lucky to have been there when they all landed back in their country after such a long time. There really is no place like home!

Fortunately, we got way more out of the trip than we even thought we would have time for. For most of our trip we were in Bogota but we also visited the Salt Cathedral of Zipaquira, the Teleferico de Monserrate, El Museo del Oro, and we even had time to fly to another city (Medellin) to then travel by bus and get to a small town my grandpa grew up in called Jerico. This was the cutest little town I've ever seen and not to mention our bed & breakfast we stayed in was a total dreamland.

Speaking of dreams, I must end on the note that plenty of mine occurred during this trip! Beginning with getting to hear my families stories while in the setting of their homeland - all the way to watching a private Carlos Vives concert happen just 15 feet away from me!




DIY TRAVEL GLOBE

I'm not gonna lie, I've definitely splurged at Anthropologie probably more times than I should have - but this time I just couldn't. I fell in love with these globes from their store and aside from the fact that I looked at it and was all "I can do that" - they were also just entirely too expensive for my liking. I wasn't planning on working on this right away, but I happened to be at target that same day and walked passed this plain-ish globe and was all "this is perfect!". So here is how it turned out - and also, why must it be so hard to choose where in my house I want to put it?!

(BONUS: Doing it myself gave me the freedom to choose my own phrase! This means "To Travel is To Live", in spanish. So I played around with typography on the computer first them freehanded it with a paintbrush!)


HOLLAND IN HAYMARKET

Not much to say here. Just a beautiful spring day over the weekend with some cool girls; mom, sis, and Emi the babe (niece). By the way, Holland in Haymarket is where it's at!! Tulip picking for dayyyyssss.

Warning: Flower overload, below.


CHOCOLATE DIPPED COCONUT MACAROONS

These are so good, make them. People will love you. Give them as a gift. Bring them over to your neighbor in hopes that she'll stop having parties on Monday nights that last until 3:00 am.

Recipe after the photos!


This recipe originally came from The Kitchn! (Then I added the chocolate dippings!)

3 cups sweetened, shredded coconut
4 large egg whites
1/2 cup sugar
1 teaspoon vanilla or almond extract (see Additional Notes)
1/4 teaspoon salt
1 cup chocolate chips (for dipping)

Instructions
  1. Place an oven rack in the bottom third of the oven and preheat to 350°F. 
  2. Toast the coconut (optional). For deeper coconut flavor and extra-crispy macaroons, spread the coconut on the baking sheet and toast for about 5 minutes, or until just barely starting to show some color. Let cool slightly before using.
  3. Combine the egg whites, sugar, vanilla, and salt in a mixing bowl. Whisk until the whites and sugar are completely combined and the mixture is frothy.
  4. Pour the coconut over the egg white mixture and stir until the coconut is evenly moistened.
  5. Line the baking sheet with a silpat or parchment. With wet hands to prevent sticking, shape the coconut mixture into small balls about 1 1/2-inches in diameter. Space them an inch or so apart on the baking sheet.
  6. Bake the macaroons until golden, 15-20 minutes.
  7. Let the macaroons cool on the baking sheet for 5 minutes, then transfer to a wire rack to cool completely. 
  8. Melt the chocolate chips in the microwave for 20 seconds. Stir and heat for another 20 seconds.  
  9. Once melted, take the macaroons and dip the bottoms and place on parchment paper. 
  10. Place in the fridge for about an hour until chocolate hardens.
Macaroons can be kept in an airtight container for up to a week.

SNOW DAY! (MEANS WORK REMOTE)

While everyone is complaining about all this "crappy weather" and snow storms that we've been getting, I'm secretly loving it. (And want more of it)